What we did was take a bunch of photos of our 7 year old boys school work from last year and saved them to our computer.
From this we're going to do a scrapbook project with a back to school theme. That we can then send to our far flung family in other parts of the planet. Right now I'm creating a scrapbook back ground to use for scrapbooking templates for the rest of the project to later place images on using adobe photo shop.
Here's how I'm doing it.
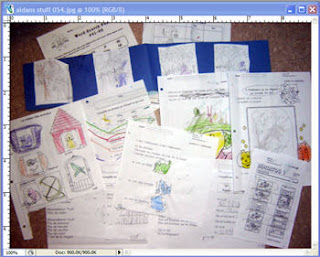
The first thing I did was to load up the image in photoshop. The screen capture here is small so it would fit in this post box.
Creating a Scrapbooking template
Again this is just one of the 30 or so pictures we took of his school work from last year.
Which brings up a good idea. Instead of
 stock piling all your child's school work and saving it FOREVER.
What you can do is to take pictures of it then THROW IT OUT.
As I am sure you know your child is going to come home with all kinds of crafts and home work and writing samples and pictures they have created over the course of their school year. WHY KEEP IT ALL. Take pictures of it and then later do a scrapbook of it.
Ok that out of the way.
Selecting an area to crop
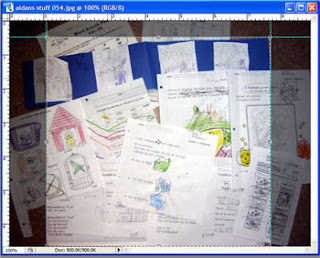
 What I wanted to do next was crop out a lot of the floor tile you see in the picture there.
I made my selection by using the move tool to grab the grid line on the edge of the photo box and the top of the photo box until I had an area I was comfortable with using and then cropping.
You can see what the process looks like.
I hope the grid lines are visible in light blue in this image.
Using the crop tool
This is what the crop tool looks like
 on your adobe photoshop work space.
the crop tool allows you to select an area and remove what other background you want from your digital scrapbook element.
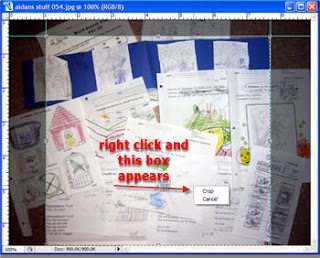
 Once you have your scrapbook template image area selected.
You right click your mouse and a little box pops up asking you to crop or cancel.
Select crop.
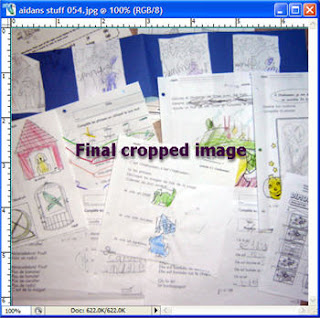
The Final Cropped Scrapbooking template back ground
 This obviously is the final cropped scrapbooking template I am going to use as my background for this project.
Now all I have to do is to add other elements to it.
Such as other scrapbook photos and some fonts and I'm and running.
Tags:

No comments:
Post a Comment